Adobe Photoshop is a powerful tool for graphic designers, photographers, and creatives. An essential technique in Photoshop is using clipping masks. Clipping masks let you control the visibility of one layer based on the shape or content of another layer. They are extremely useful for creating complex designs, adding textures, and achieving many different creative effects.
In this tutorial, we’ll walk you through the steps of creating a clipping mask in Photoshop.
5 Steps to Create Clipping Mask in Photoshop
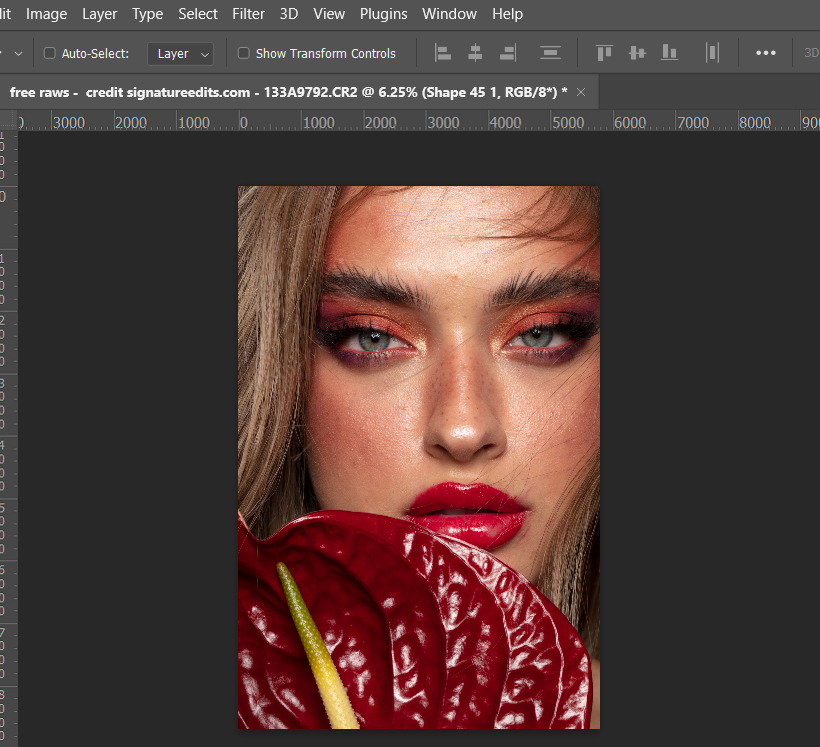
Step 1: Open Your Image in Photoshop
Before you can start using clipping masks, you need to open your image or create a new project in Photoshop. To do this, go to “File” > “Open” and select your image file. Alternatively, you can create a new project by going to “File” > “New.”
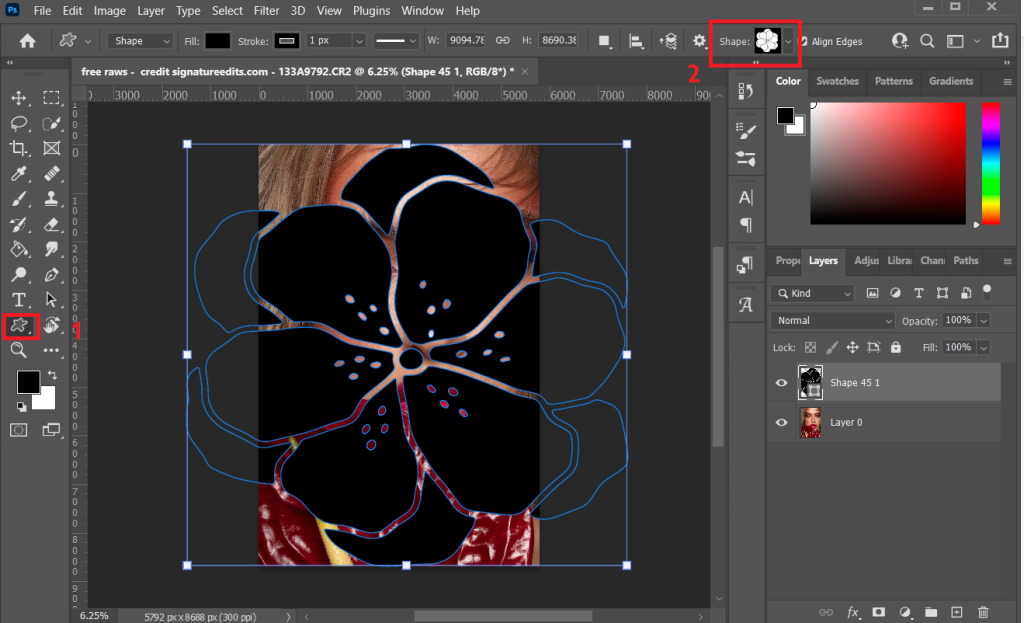
Step 2: Create or Import the Layer to be Clipped
Now that you have your canvas open, you’ll need to create or import the layer that you want to use as the mask. This can be text, shapes, or any other layer with transparency.
To create a text layer, select the “Type” tool from the toolbar, click on your canvas, and type your text. You can also import shapes, which you can find in the “Shape” tool options.
Step 3: Position Your Mask Layer
After creating or importing your mask layer, position it where you want it to affect the layer below. You can move, resize, or rotate the mask layer as needed. Use the “Move” tool (shortcut: V) to do this.
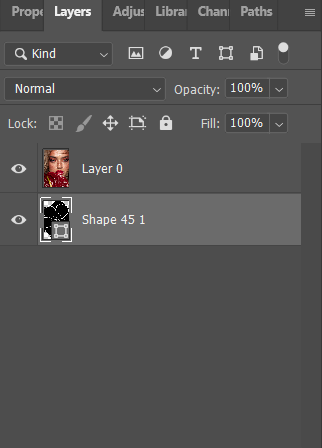
Step 4: Place the Layer to be Clipped Below
To create a clipping mask, the layer you want to apply the mask to must be positioned below the mask layer in the Layers panel. If it’s not already, simply drag the layer you want to clip below the mask layer.
Step 5: Create the Clipping Mask
With both layers in the right order, it’s time to create the clipping mask. To do this, right-click on the layer you want to clip (the one at the bottom in the Layers panel) and select “Create Clipping Mask.”
Alternatively, you can hold down the Alt key (Option key on Mac) and position your cursor between the two layers in the Layers panel. When you see the cursor change to a square with an arrow, click. This also creates a clipping mask.
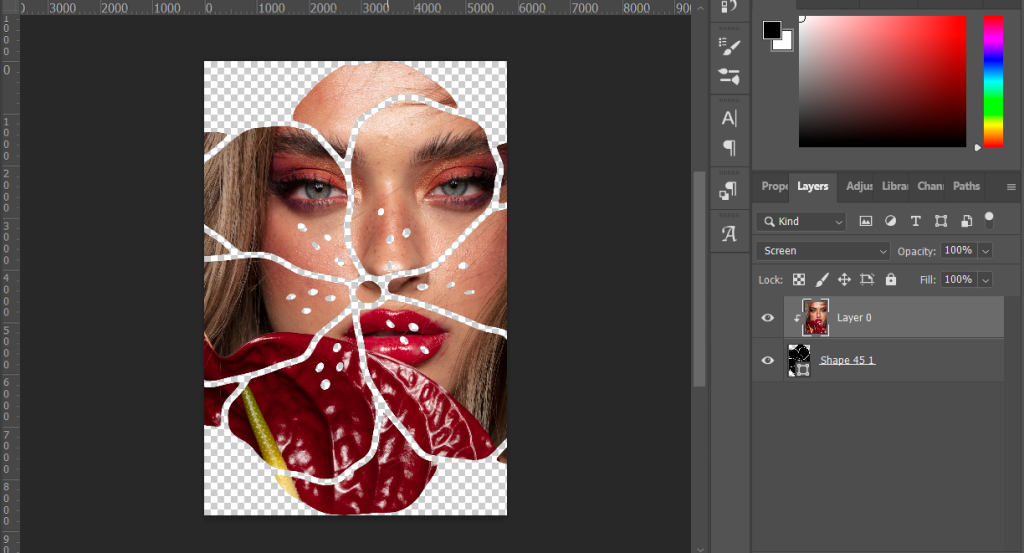
Or you can click right-hand mouse and select Clipping mask.

Tips for Using Clipping Masks Effectively
- Experiment with blending modes: Change the blending mode of the clipped layer to achieve different effects.
- Add layer styles: Apply layer styles such as shadows, gradients, or strokes to the clipped layer to enhance the visual impact.
- Use adjustment layers: Add adjustment layers above the clipped layer to further modify its appearance, such as changing the color balance or brightness.
- Combine multiple clipping masks: You can create complex designs by stacking multiple clipping masks on a single layer.
- Group layers: Organize your layers by grouping them, making it easier to manage and apply clipping masks to multiple layers simultaneously.
Conclusion
Clipping masks in Photoshop is a fundamental tool for creating creative and impressive designs. By following the steps in this tutorial, you can harness the power of clipping masks to achieve complex and visually appealing results in your projects. Experiment with different shapes, textures, and layer styles to unleash your creativity and take your Photoshop skills to the next level. Happy designing!
Contact us if you have any questions.
Moreover, Don’t forget at VincentColor we provide Real Estate Photo Editing Service only from 0.5$
Website: https://vincentcolor.com
Email1: Contact@vincentcolor.com
Email2: Cs@vincentcolor.com